.png?width=500&height=131&name=horiz-onwhite-noslogan%20(1).png)
EVA and iris customers can create their own organization accounts directly through the Liger Medical Portal (https://portal.ligermedical.com/), without assistance from Liger Medical Support.
This capability is intended for organization administrators, clinical admins, or independent users (such as private clinics).
If you are part of a large organization, please contact your administrator to create your user account.
Steps to create a new EVA organization account
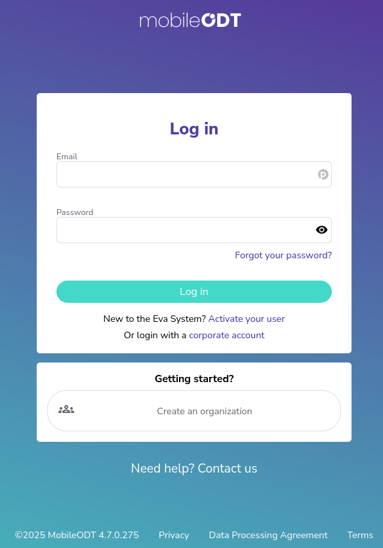
- Go to the EVA Portal. (https://portal.ligermedical.com/)
- Under "Getting Started?" click on "Create an organization".
- Enter your email address and complete the CAPTCHA.
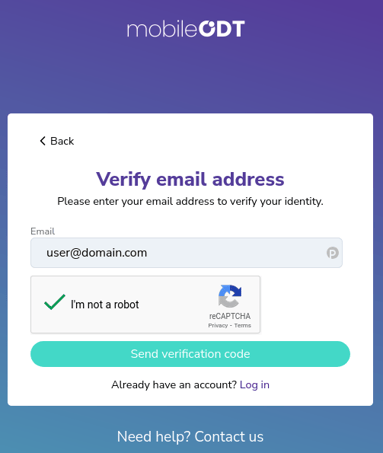
- Click "Send verification code" to continue.
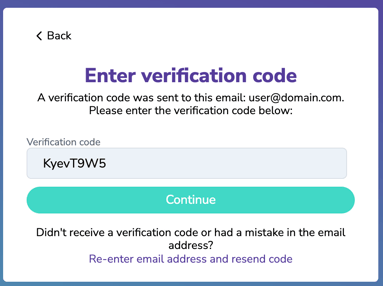
- Check your inbox for an email titled “Activate your new EVA System account” containing your verification code.
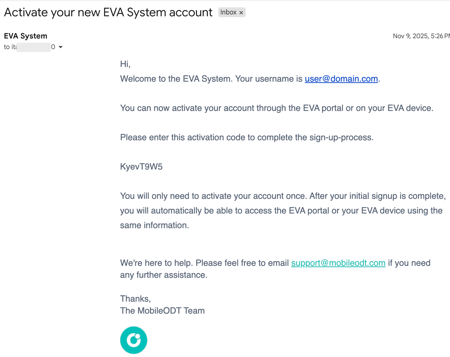
- Enter the verification code and click "Continue".
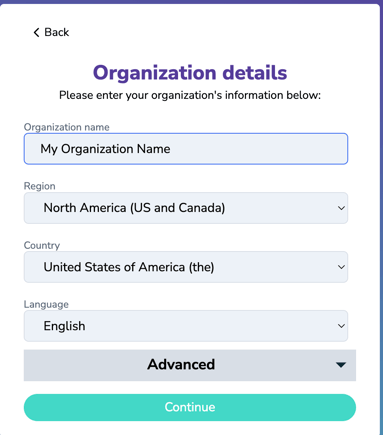
- Organization details:
- Enter your organization account name and details.
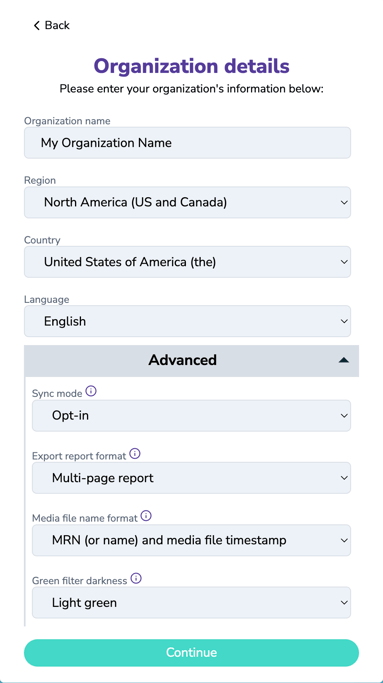
- To configure additional settings, click “Advanced.”
- Click "Continue".
-
- Sync mode
- Opt-in: Media captured on-device is automatically synced to the cloud.
- Opt-out: Media is not synced to the cloud, and must be exported over a USB connection from the device.
- Export report format
- Multi-page report: Includes complete exam details. May span several pages.
- Single-page report: Contains basic exam details. Length will not exceed one page.
- Assessment report: Provides exam summary and up to 2 images. Intended to be printed and filled out by hand.
- Media file name format
- Exam ID and media file timestamp: If 'Exam ID and media file timestamp' is selected, the Exam ID and media file timestamp will be included in the media file name.
- MRN (or name): If 'MRN (or name)' is selected, the MRN will be included in the media file name. If MRN is not available, the patient's name will be used instead.
- Green filter darkness: Exam media can be enhanced with a green filter to better visualize vasculature patterns. Two levels of darkness are available: Light green and Dark green.
- Sync mode
This flow will create an initial user that will act as a "User manager"
- User details:
- Fill in user details for the initial administrator account.
- To view more options, click “Advanced.”
- Click “Continue.”
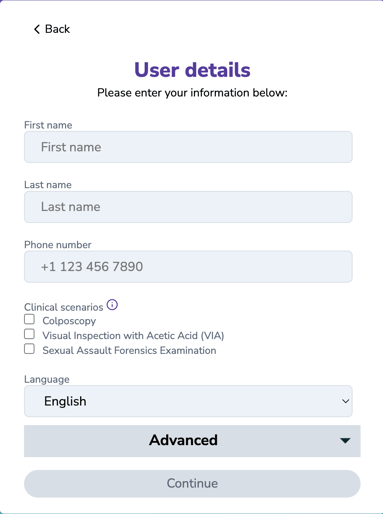
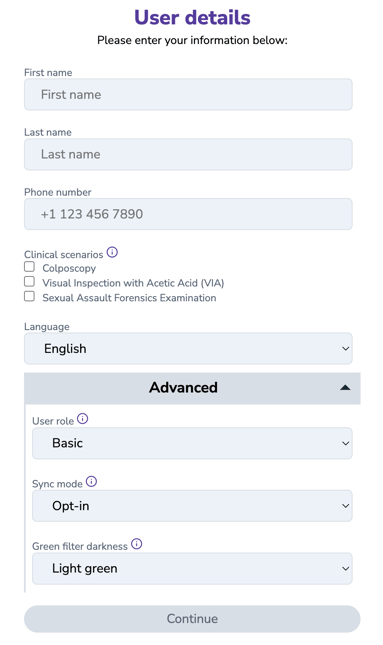
Clinical scenarios - Predefined input fields and user flow through the EVA System for specific procedures. For more info, refer to: EVA System Clinical scenarios
-
- Colposcopy - Used in a visual inspection of the cervix during routine cervical cancer screening (Intended to use with EVA Pro devices).
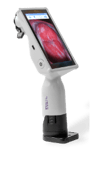
- Colposcopy - Used in a visual inspection of the cervix during routine cervical cancer screening (Intended to use with EVA Pro devices).
-
- Visual Inspection with Acetic Acid (VIA) - Used in visual inspection with acetic acid for primary cervical cancer screening (Intended to use with EVA Pro devices)
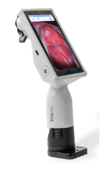
- Sexual Assault Forensics Examination - Used in recording visual evidence during a sexual assault forensic exam by a trained practitioner (Intended to use with EVA SafeView devices)
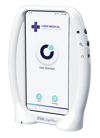
- Iris Default - Used in a visual inspection of the cervix during routine cervical cancer screening (Intended to use with Iris devices).
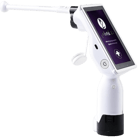
- Visual Inspection with Acetic Acid (VIA) - Used in visual inspection with acetic acid for primary cervical cancer screening (Intended to use with EVA Pro devices)
User Role: The EVA System includes two user roles: Basic User and Clinical Admin User. Both roles allow users to create exams using the EVA Device. The key difference lies in the level of access within the EVA Portal.
-
- Basic User: Can create an Exam in the EVA Device. In the EVA Portal, can view, edit, delete, and export their own exams
- Clinical Admin: Can create an Exam in the EVA Device. All Basic User permissions, plus full access to all exams within the EVA Account in the EVA Portal
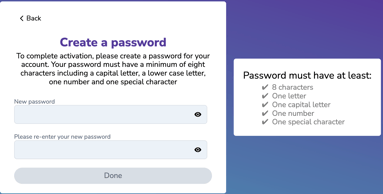
- Enter a password and click “Done.”
Password must have at least: 8 characters, 1 letter, 1 capital letter, 1 number, 1 special character
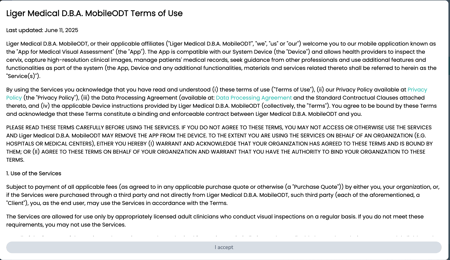
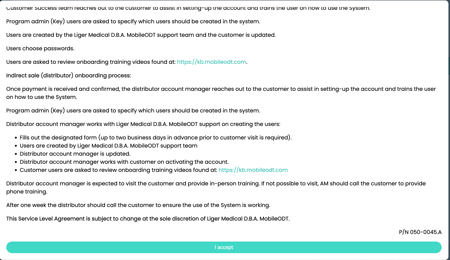
- Accept the Terms of Use - Scroll to the bottom of the Terms of Use page and click “I accept”.
- You will receive a “Getting Started with the EVA System” email with your organization account name and user details.
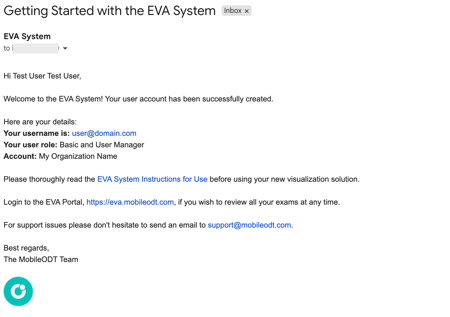
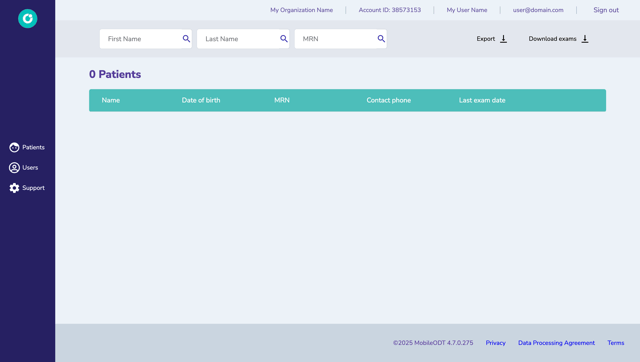
- Your EVA organization account has been created, and you are now signed in as the user manager.
- (Optional) Add More Users
-
- To add more users to your organization account, click on “Users” in the left menu.
For more information how to create new users, refer to: Managing Users in the EVA System
- To add more users to your organization account, click on “Users” in the left menu.