
Introduction
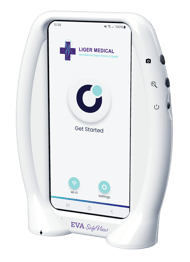
This quick start guide walks you through activate your new user account, getting started with the EVA SafeView device for sexual assault forensic examinations and documentation, and reviewing examinations on the Liger Medical Portal.
https://ligermedical.com/forensics
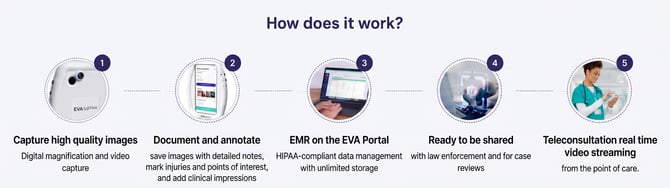
EVA SafeView Overview - How does it work?
Before you begin
Before using EVA SafeView for the first time, complete the following setup steps: connect to a secure Wi-Fi network, assemble the device stand, and pair the Bluetooth foot pedal and remote button. This setup only needs to be completed once per device and applies to all users of that device.
- Connect the EVA SafeView to a secure Wi-Fi network.
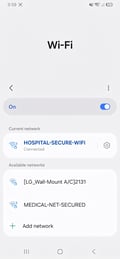
For more information, refer to - EVA SafeView - Set up the EVA SafeView device WiFi - Assemble the stand, including the mount ball-head and the quick release adaptor.
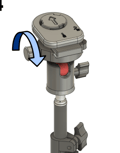
For more information, refer to - Stands Assembly Instructions - Pair the Bluetooth foot pedal.
EVA SafeView users can use a Bluetooth foot pedal for hands-free image and video capture.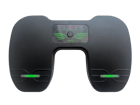 For more information, refer to - EVA SafeView - Pairing Bluetooth Foot Pedal
- Pair the Bluetooth Remote Button.
EVA SafeView users can use a Bluetooth remote button for remote image capture.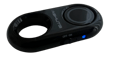 For more information, refer to - EVA SafeView - Pairing Remote Button
1. Activate your User Account from the Liger Medical Portal
Note: If your organization uses a corporate account, you can skip the activation step and sign in to the device immediately. Go to - Login to the EVA SafeView at the first time
- A user account is required to access the EVA device and the Liger Medical Portal.
- If your user account has been created but you have not activated it yet, follow the Activate User instructions below before using the system.
- Your email and password will be used to access your EVA account, both on the Liger Medical Portal and on any EVA device.
- If a user account has not yet been created for you, contact your User Manager or email support@ligermedical.com.
Start user account activation
- Find the “Getting Started with Liger Medical” email in your inbox.
- Click “Set Up Your Liger Medical Account” to begin the account activation process.
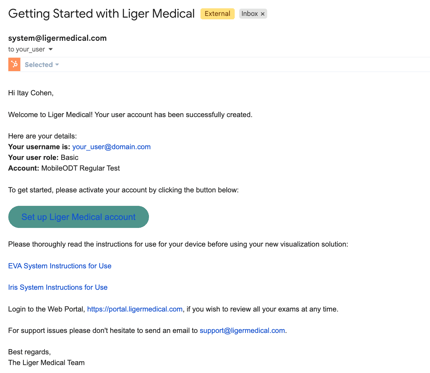
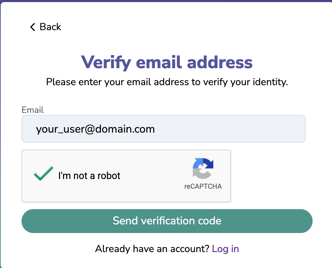
Verify your email address
- You will be redirected to the Verify Email Address page in the Liger Medical Portal
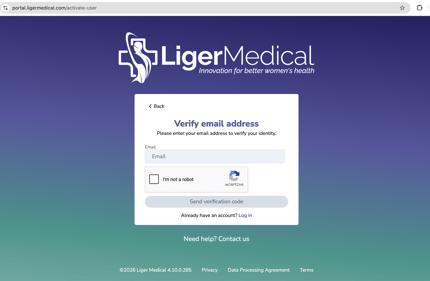
- Enter the email address associated with your Liger Medical User account, as specified in the “Getting Started with Liger Medical” email.
- Select 'I'm not a robot'
- Click on "Send verification code"
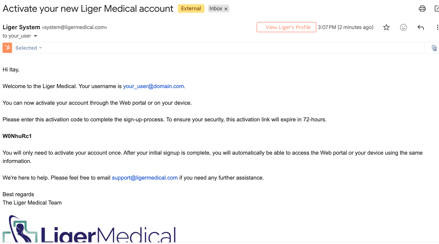
Retrieve your activation code
- An email will be sent with an activation code that needs to be entered in the next screen.
- Find the “Activate Your New Liger Medical Account” email in your inbox
Enter your activation code
- Enter the activation code you received.
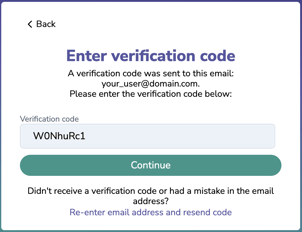
If you did not receive an email check your spam and trash folders.
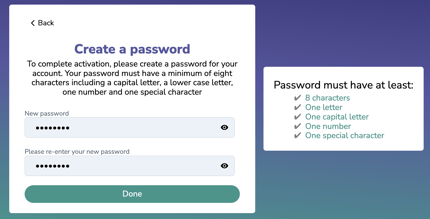
Create your password
- Create a password for your Liger Medical User account, then click “Done”.
Accept the Terms of Use
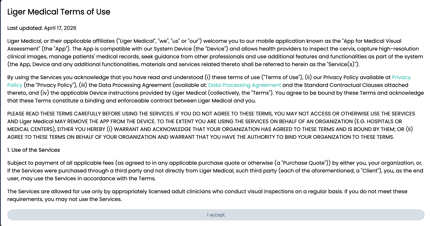
- To complete the activation process, scroll down and accept the Liger Medical Terms of Use.
2. Login to the EVA SafeView at the first time
- Open the EVA SafeView device.
- Tap "Get Started".
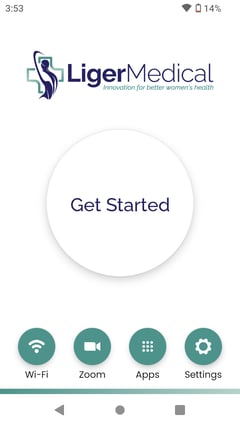
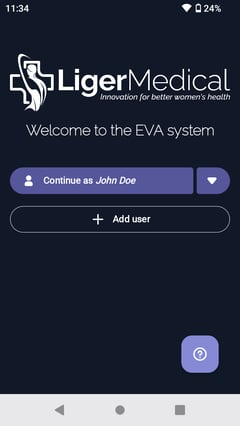
- Tap "Add user".
- A pop-up message appears. Tap "Sign in".
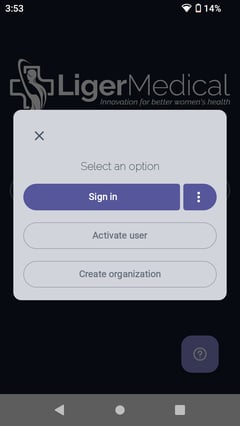
Note: If your organization uses a corporate account, select Single sign-on an sign in with your organization credentials.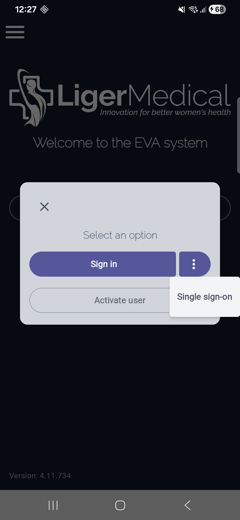
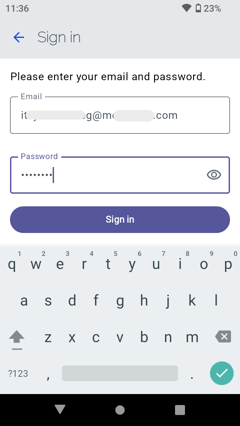
- Enter your email address and password, then tap "Sign In".
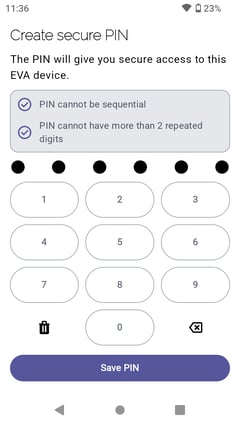
- Create a secure PIN. The PIN will give you secure access to this EVA device. Tap "Save PIN"
-
- Setup up complete.
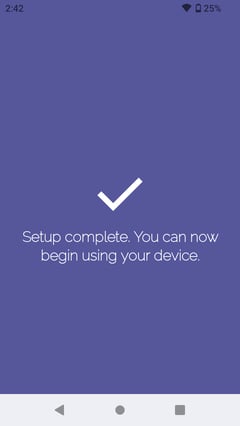
- You are now ready to start an exam.
- Setup up complete.
3. Performing an exam
Start an Exam
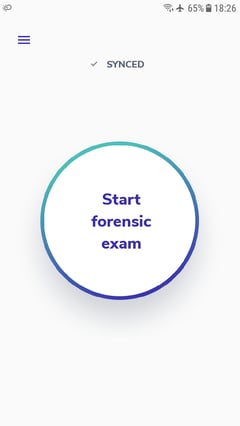
Press ‘Start forensic exam’
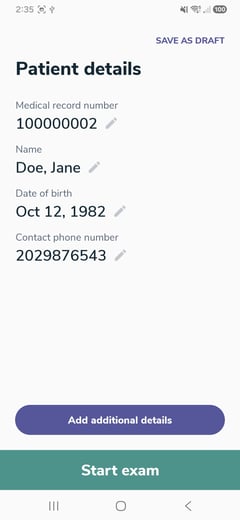
Enter identifying patient information:
-
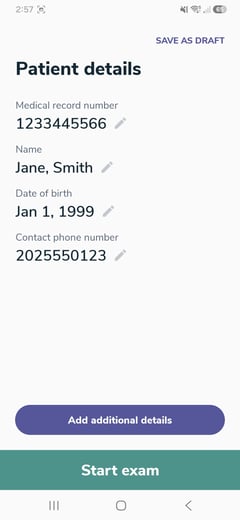
For each patient, you can enter the following fields: Medical Record Number (MRN), first name, last name, date of birth (or age if date of birth is unknown,) and a contact phone number.
-
If a medical record number is entered, the subsequent fields can be skipped. If no medical record number was entered, first name, last name, and date of birth (or age) will be mandatory.
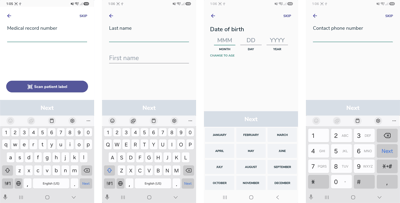
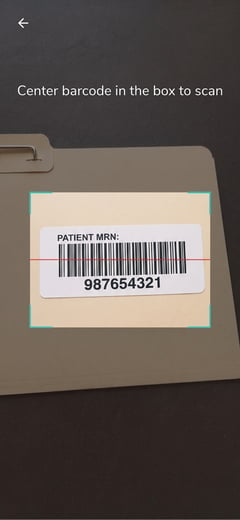
- MRN can be entered manually or by scanning the barcode by pressing ‘Scan patient label’.
Please note that at this stage you need to hold the barcode in-front of the screen.
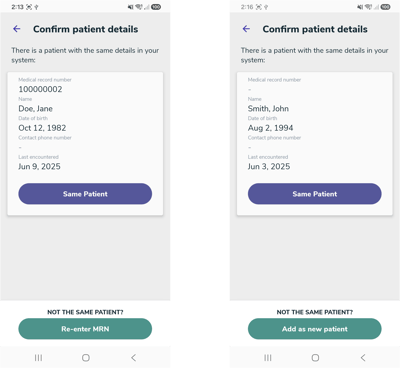
- Same Patient (OPT-IN only) - If the MRN or the same combination of first and last names with the same date of birth already exists in the user’s account, the system will ask the user if the new patient they entered is the same patient that already exists.
- The user can either click ‘Same patient’ to add the new exam to the existing patient record or click ‘Re-enter MRN’ or ‘Add as new patient’ if it is not the existing patient.
- A summary of all entered information will be displayed with an option to edit every field.
Capture images
- Tap on 'Start exam'.
- The Visualization screen is displayed.
- Position the SafeView device to obtain the desired view.
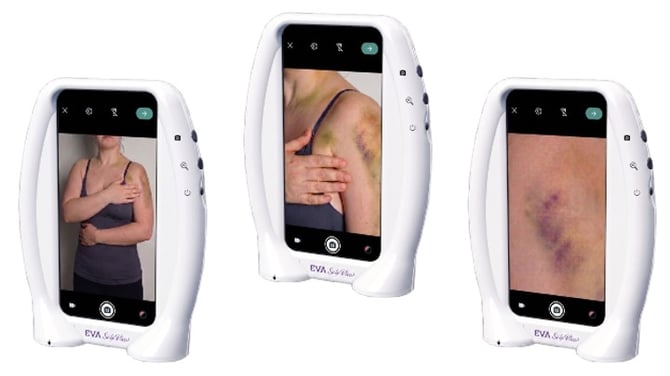
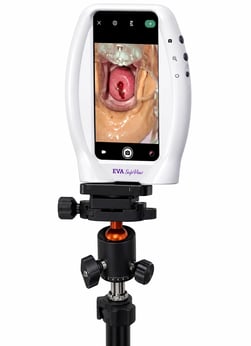
- Capture an image using either of the following methods:
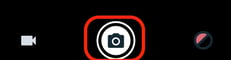
- Tap the Capture button at the bottom center of the screen.
-
-
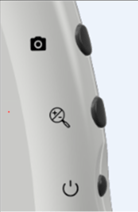
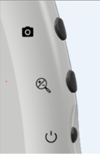
Press the Image Capture button on the side of the SafeView device.
-
-
- Tap on the left Pedal on the Foot Pedal
- Click on the Remote Button
Camera focus
-
The focus is automatically adjusted by the camera.
-
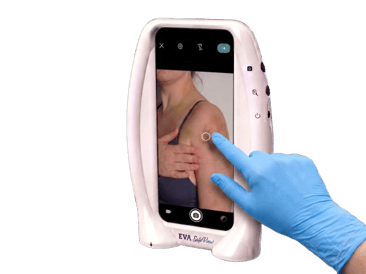
To manually change the focus: Tap any area on the screen to set the focus point.
Zoom In/Out
-
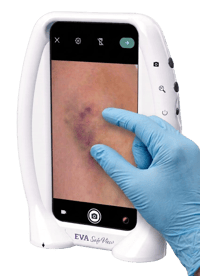
To zoom: Pinch in or out on the screen with two fingers, or use the Zoom In/Out button on the side of the device.
High Contrast filter
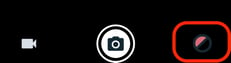
- To toggle the High Contrast filter on and off, tap the red Filter Toggle button at the bottom right of the screen.
Green filter
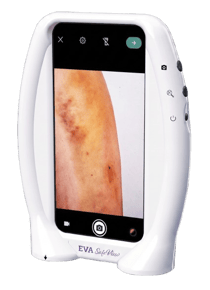
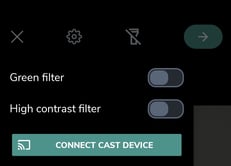
- The SafeView device has both a high contrast filter and a green filter. To choose one or the other of these options, tap the setting icon at the top of the screen.

- Choose your desired filter by tapping the slider switch next to your choice.
Capture a video
- To capture video footage, tap the video camera button on the left side of the screen.

- Tap the center video icon to begin recording video.

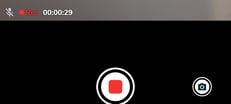
- While recording a video, you may also capture still images by tapping the camera icon at the bottom-right of the screen. Still images can also be captured using the foot pedal or remote button while recording.
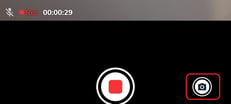
- Tap the center stop red icon to stop recording video.
Exam Light
When first starting an exam, by default the exam light is turned off. Tap the exam light icon to toggle the light on or off.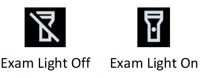
Review media files
-
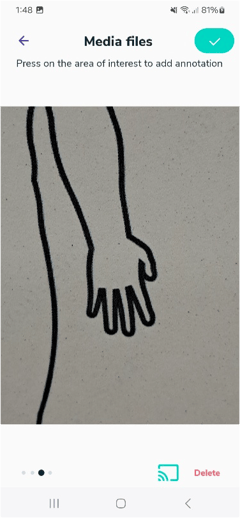
When you finish capturing images to your satisfaction, tap on the green arrow button at the top right of the screen and you will be redirected to the image gallery.
-
The captured files are displayed in the reverse order in which they were taken - from last to first.
-
Swipe with your finger to the left to see the next file and swipe to the right to see the previous file.
Add annotations
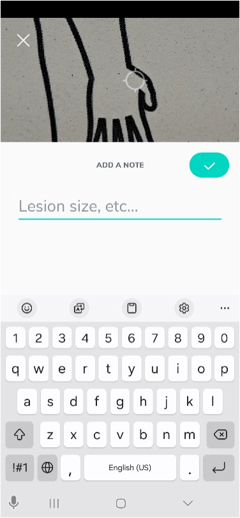
- To annotate an image, tap the location on the image you would like to annotate, and follow the suggested options to record the relevant details.
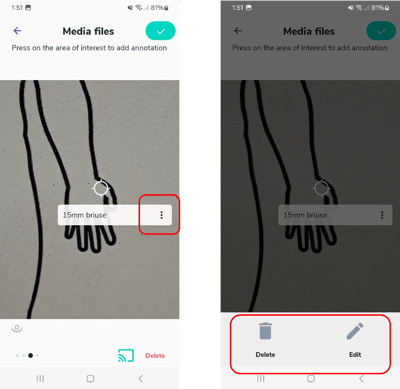
- To edit or delete an annotation, tap on the annotation and tap on the annotation menu icon (3 dots) then tap the Delete or Edit icon.
-
Once review of annotations is complete, tap the check mark icon at the top of the screen.
Exam Summary
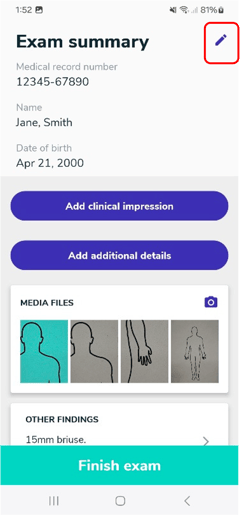
- All the information entered is displayed on the summary page.
- You can edit patient's details by pressing the edit button at the top of the screen.
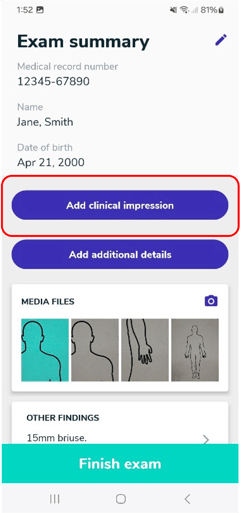
- Clinical Impression: After images have been captured, the users have the option to add additional case notes under the ‘Add Clinical impression’ tab.
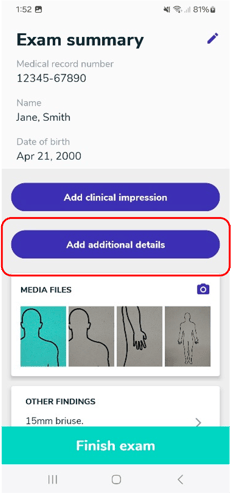
- Additional Details: Before or after an exam, additional details may be included with the exam.
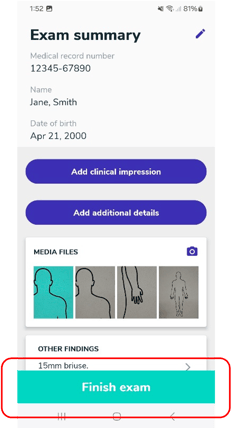
- To finalize the documentation, tap on 'Finish exam' when done. The exam will start uploading to the Liger Medical Portal (for OPT-IN users). The exam will be available for further editing on the device for the next 24 hours.
4. Reviewing exams on the EVA App
To view examinations on the EVA SafeView, check their status, or to see the process of uploading examinations to the EVA Portal (for OPT-IN users), tap on the menu button the top left in the home screen and tap on ‘Exams list’.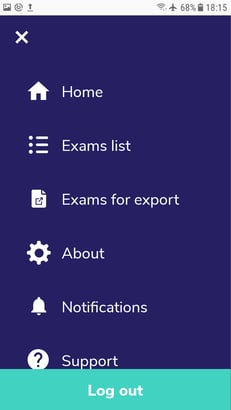
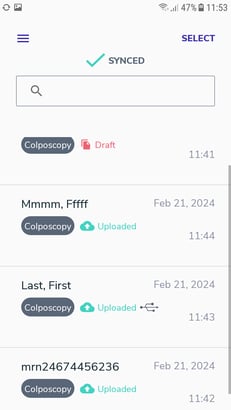
For more information on reviewing examinations, refer to - EVA App - Reviewing exams on the app
5. Exporting Exams from the Device
After completing your exam documentation and tapping on ‘Finish exam’, an option to export the exam is available. The user can choose between exporting to an email (opt-in users only) or to a folder on the device from which the exams can be copied and backed up manually on a local drive.
-
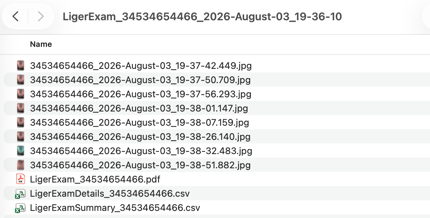
For more information on export to a folder , refer to - EVA App - Exporting exam to a local folder
-
For more information on export to an email, refer to - EVA App - Exporting exam to email
6. Liger Medical Portal
Images and data captured by the EVA SafeView device at the point of care are securely transmitted to HIPAA-compliant cloud storage. Users can access the stored examination data through the Liger Medical Portal using the same user name and password as their EVA SafeView device.
The Liger Medical Portal stores examinations captured using the EVA SafeView device. It enables authorized users to access and review patient examination records, edit examination information, manage images and videos, view and edit annotations, and export and download examinations.
Accessing the Liger Medical Portal
The Liger Medical Portal is accessed from a computer or laptop using your preferred web browser.
- Open your preferred web browser.
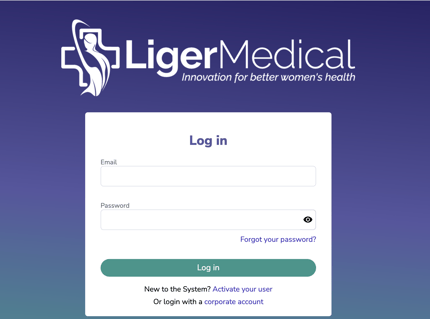
- Go to: https://portal.ligermedical.com/
- Log in using your credentials.
Portal Capabilities
The Liger Medical Portal provides access to patient examination records and supports the following activities
- Review and edit patient examination records.
Access patient records and review or edit examination information.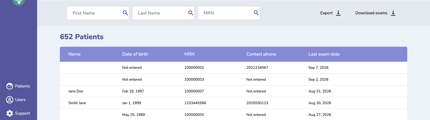
For more information, refer to - EVA Portal - Patients and Examinations Records - View and manage images and videos, and annotations.
View images and videos associated with an examination, download or delete media files, and view or edit annotations.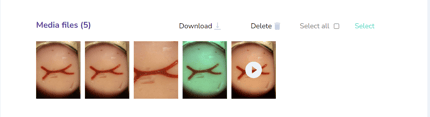
For more information, refer to - EVA Portal - Viewing images, videos and annotations - Export and Download Exams.
Export and download examination data from the Liger Medical Portal.
For more information, refer to - EVA Portal - Export & Download